專案建置【 我不會寫 React Component 】

工欲善其事,必先利其器。
為了方便我們後續的元件開發,
我們要先做一些前置動作。
至於要不要採用以下架構,可以自行決定。
想要看完整的專案:https://github.com/kayac-chang/react-wai
Turbo
建立 Turbo 建立 Monorepo
Monorepo 簡單來說,
是指將多個專案放置在同一個專案下集中管理。 這樣的好處是在開發階段時,
可以保持開發的彈性,同時也保持解耦。Turborepo
Turborepo 是 vercel 團隊內部在用的 monorepo 建置工具。
優點是非常快速且輕便。
使用過的感覺比 nx 更加優秀。
npx create-turbo@latest

>>> TURBOREPO

>>> Welcome to Turborepo! Let's get you set up with a new codebase.

? Where would you like to create your turborepo? my-comp
? Which package manager do you want to use? yarn

>>> Creating a new turborepo with the following:

 - apps/web: Next.js with TypeScript
 - apps/docs: Next.js with TypeScript
 - packages/ui: Shared React component library
 - packages/eslint-config-custom: Shared configuration (ESLint)
 - packages/tsconfig: Shared TypeScript `tsconfig.json`

>>> Success! Created a new Turborepo at "my-comp".
Inside that directory, you can run several commands:

  yarn run build
     Build all apps and packages

  yarn run dev
     Develop all apps and packages

Turborepo will cache locally by default. For an additional
speed boost, enable Remote Caching with Vercel by
entering the following command:

  npx turbo login

We suggest that you begin by typing:

  cd my-comp
  npx turbo login
進入專案
cd my-comp
清理一下當前專案
    .
    ├── README.md
    ├── apps
-   │   ├── docs
-   │   │   ├── README.md
-   │   │   ├── next-env.d.ts
-   │   │   ├── next.config.js
-   │   │   ├── package.json
-   │   │   ├── pages
-   │   │   │   └── index.tsx
-   │   │   └── tsconfig.json
    │   └── web
    │       ├── README.md
    │       ├── next-env.d.ts
    │       ├── next.config.js
    │       ├── package.json
    │       ├── pages
    │       │   └── index.tsx
    │       └── tsconfig.json
    ├── package.json
    ├── packages
    │   ├── eslint-config-custom
    │   │   ├── index.js
    │   │   └── package.json
    │   ├── tsconfig
    │   │   ├── README.md
    │   │   ├── base.json
    │   │   ├── nextjs.json
    │   │   ├── package.json
    │   │   └── react-library.json
    │   └── ui
    │       ├── Button.tsx
    │       ├── index.tsx
    │       ├── package.json
    │       └── tsconfig.json
    ├── turbo.json
    └── yarn.lock
檢查一下能不能正常運行
yarn dev
更改專案 packages
更改一下 packages
    .
    ├── README.md
    ├── apps
    │   └── web
    │       ├── README.md
    │       ├── next-env.d.ts
    │       ├── next.config.js
    │       ├── package.json
    │       ├── pages
    │       │   └── index.tsx
    │       └── tsconfig.json
    ├── package.json
    ├── packages
+   │   ├── button
    │   │   ├── Button.tsx
    │   │   ├── index.tsx
    │   │   ├── package.json
    │   │   └── tsconfig.json
    │   ├── eslint-config-custom
    │   │   ├── index.js
    │   │   └── package.json
    │   └── tsconfig
    │       ├── README.md
    │       ├── base.json
    │       ├── nextjs.json
    │       ├── package.json
    │       └── react-library.json
    ├── turbo.json
    └── yarn.lock
更改引入部分
-- web/package.json
    {
    "name": "web",
    "version": "0.0.0",
    "private": true,
    "scripts": {
        "dev": "next dev",
        "build": "next build",
        "start": "next start",
        "lint": "next lint"
    },
    "dependencies": {
+       "button": "*",
        "next": "12.2.3",
        "react": "17.0.2",
        "react-dom": "17.0.2"
    },
    "devDependencies": {
        "@babel/core": "^7.0.0",
        "@types/node": "^17.0.12",
        "@types/react": "17.0.48",
        "eslint": "7.32.0",
        "eslint-config-custom": "*",
        "next-transpile-modules": "9.0.0",
        "tsconfig": "*",
        "typescript": "^4.5.3"
    }
    }
更改成動態編譯元件
-- web/next.config.js
const withTM = require("next-transpile-modules")(["button"]);

module.exports = withTM({
  reactStrictMode: true,
});
更改實際測試程式
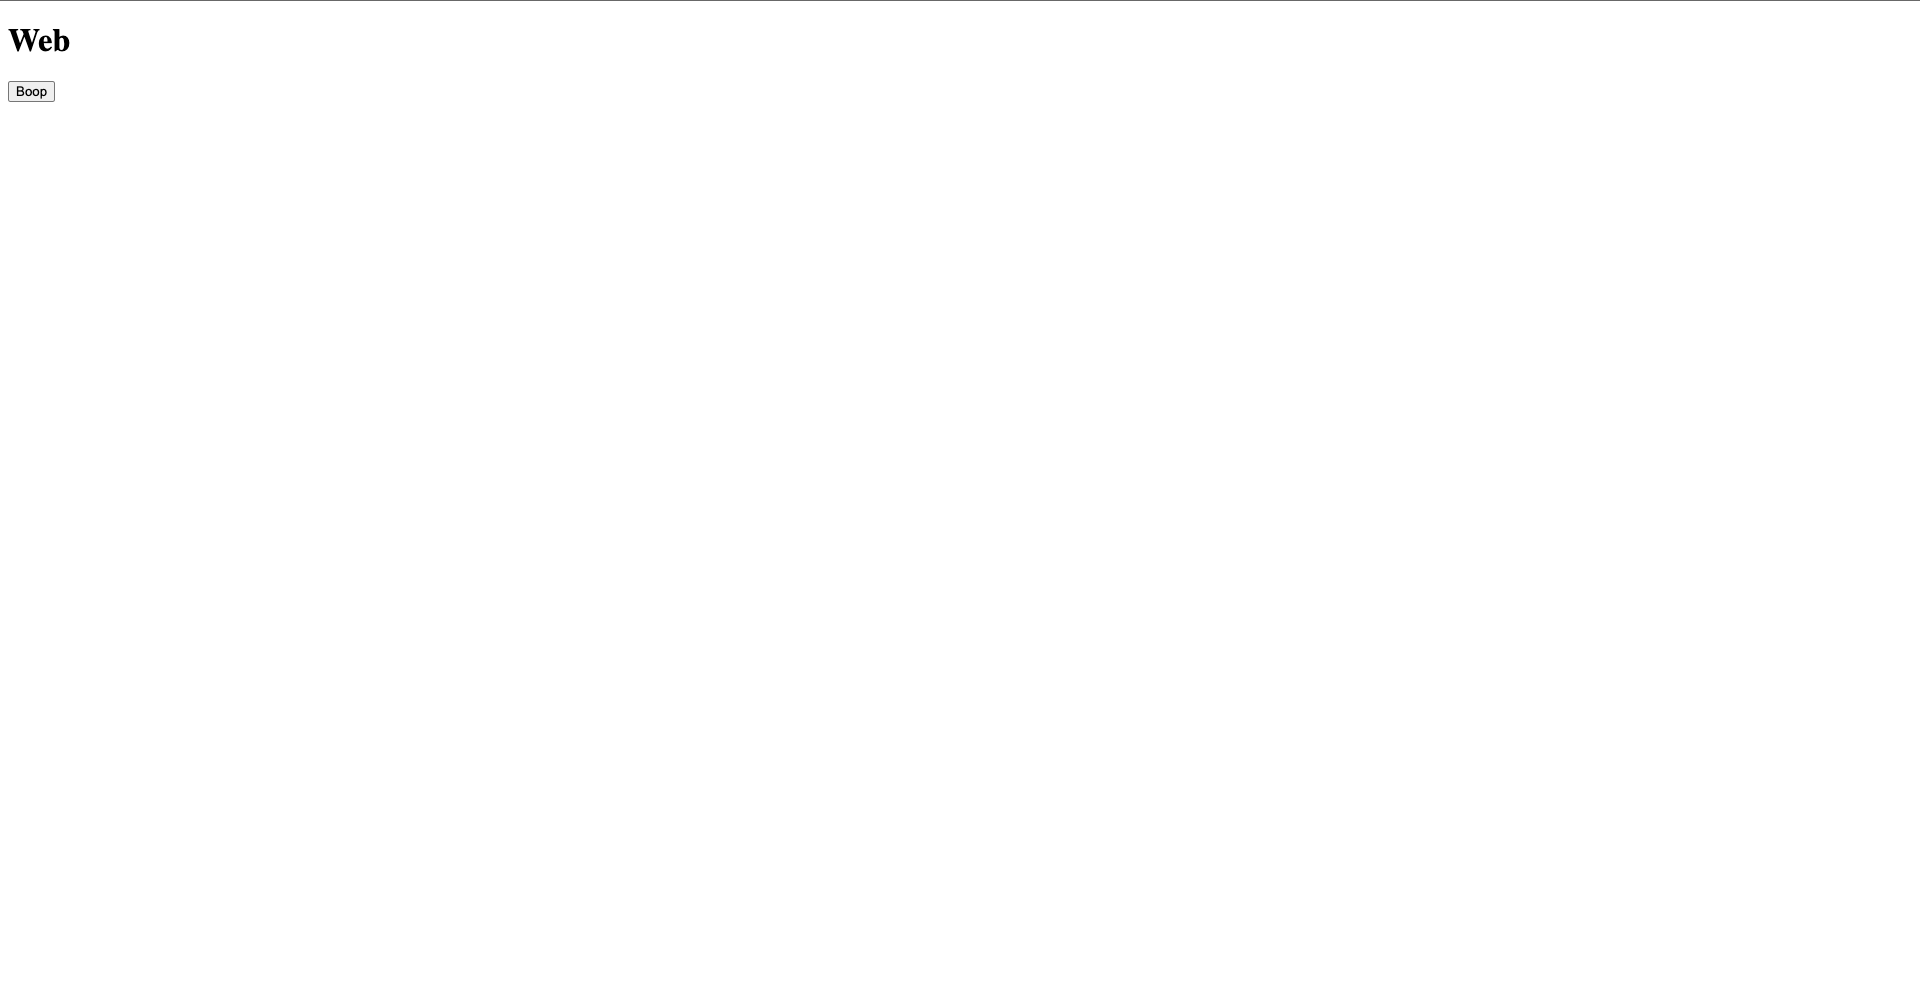
-- web/pages/index.tsx
import { Button } from "button";

export default function Web() {
  return (
    <div>
      <Button />
    </div>
  );
}
TailwindCSS
雖然我的目標是要製作 styleless 的元件。
但為了方便測試,
配置 TailwindCSS 在測試環境來測試,
元件上 style 後有沒有問題。
- 前往
web
cd apps/web
- 設置 TailwindCSS
yarn add -D tailwindcss postcss autoprefixer
npx tailwindcss init -p
- 調整
tailwind.config.js
-- tailwind.config.js
/** @type {import('tailwindcss').Config} */
module.exports = {
  content: [
    "./pages/**/*.{js,ts,jsx,tsx}",
    "./components/**/*.{js,ts,jsx,tsx}",
  ],
  theme: {
    extend: {},
  },
  plugins: [],
};
- 建立
styles/globals.css
-- styles/globals.css
@tailwind base;
@tailwind components;
@tailwind utilities;
- 建立
pages/_app.tsx
-- pages/_app.tsx
import type { AppProps } from "next/app";
import "../styles/globals.css";

export default function MyApp({ Component, pageProps }: AppProps) {
  return <Component {...pageProps} />;
}
- 更改
pages/index.tsx
-- pages/index.tsx
import { Button } from "button";

export default function Web() {
  return (
    <div className="h-screen w-screen grid place-content-center">
      <Button />
    </div>
  );
}
Vitest
加入單元測試方便我們實作 TDD,
至於要不要採用 TDD 看個人,
我個人採用的原因是,
因為整體開發時間會比較減少 (aka 除錯跟通靈時間成本降低)。
註解:TDD 開發團隊寫測試,通常有三種模式: 先寫測試再開發、開發完成再寫測試、無招勝有招—不寫測試(誤) TDD 是指第一種模式,先寫測試再開發,也就是常聽到的 TDD(Test-Driven Development)。
- 加入 vitest
  {
    "name": "my-comp",
    "version": "0.0.0",
    "private": true,
    "workspaces": [
      "e2e",
      "apps/*",
      "packages/*"
    ],
    "scripts": {
      "build": "turbo run build",
      "dev": "turbo run dev --parallel",
      "lint": "turbo run lint",
      "format": "prettier --write \"**/*.{ts,tsx,md}\"",
+     "test": "vitest"
    },
    "devDependencies": {
+     "@testing-library/cypress": "latest",
+     "@testing-library/dom": "latest",
+     "@testing-library/react": "latest",
+     "@testing-library/user-event": "latest",
+     "@types/ramda": "latest",
+     "@types/react": "latest",
+     "@types/react-dom": "latest",
+     "@types/testing-library__cypress": "latest",
      "eslint-config-custom": "*",
+     "jsdom": "latest",
      "prettier": "latest",
      "react": "^18.2.0",
      "react-dom": "^18.2.0",
      "turbo": "latest",
+     "typescript": "latest",
+     "vitest": "latest",
+     "vitest-axe": "latest",
+     "vitest-dom": "latest"
    },
    "engines": {
      "npm": ">=7.0.0",
      "node": ">=14.0.0"
    },
    "packageManager": "yarn@1.22.11"
  }
- 加入
vitest.config.ts
import { defineConfig, configDefaults } from "vitest/config";

export default defineConfig({
  esbuild: {
    jsxInject: `import * as React from 'react'`,
  },
  define: {
    __DEV__: true,
  },
  test: {
    environment: "jsdom",
    coverage: {
      include: ["packages/*/__tests__/**/*.{ts,tsx,js,jsx}"],
      exclude: [...configDefaults.exclude],
    },
    setupFiles: ["./test/setupTests.ts"],
  },
}
- 加入
test/setupTest.ts
import "vitest-axe/extend-expect";
import "vitest-dom/extend-expect";
import * as axeMatchers from "vitest-axe/matchers";
import * as domMatchers from "vitest-dom/matchers";
import { afterEach, expect } from "vitest";
import { cleanup } from "@testing-library/react";

// @ts-ignore: @see https://reactjs.org/blog/2022/03/08/react-18-upgrade-guide.html#configuring-your-testing-environment
globalThis.IS_REACT_ACT_ENVIRONMENT = true;

expect.extend(axeMatchers);
expect.extend(domMatchers);

afterEach(cleanup);
以後的專案設置
為了方便以後不要再重講一遍,
這邊解釋如何開始開發一個新的元件。
複製 packages/button 改成 需要的元件名稱,例如 calendar
cp -r packages/{button,calendar}
進入 packages/calendar
cd packages/calendar
更改 package.json
    {
+       "name": "calendar",
        "version": "0.0.0",
        "main": "./index.tsx",
        "types": "./index.tsx",
        "license": "MIT",
        "scripts": {
            "lint": "eslint *.ts*"
        },
        "devDependencies": {
-           "@types/react": "^17.0.37",
-           "@types/react-dom": "^17.0.11",
            "eslint": "^7.32.0",
            "eslint-config-custom": "*",
-           "react": "^17.0.2",
            "tsconfig": "*",
-           "typescript": "^4.5.2"
        }
    }
更改程式碼
-- index.tsx
export * from "./Calendar";
-- Calendar.tsx
export const Calendar = () => {
  return <>Calendar</>;
};
前往 apps/web
cd ../../apps/web
- 導入元件
    {
        "name": "web",
        "version": "0.0.0",
        "private": true,
        "scripts": {
            "dev": "next dev",
            "build": "next build",
            "start": "next start",
            "lint": "next lint"
        },
        "dependencies": {
            "button": "*",
+           "calendar": "*",
            "next": "12.2.3",
            "react": "17.0.2",
            "react-dom": "17.0.2"
        },
        "devDependencies": {
            "@babel/core": "^7.0.0",
            "@types/node": "^17.0.12",
            "@types/react": "17.0.48",
            "autoprefixer": "^10.4.8",
            "eslint": "7.32.0",
            "eslint-config-custom": "*",
            "next-transpile-modules": "9.0.0",
            "postcss": "^8.4.16",
            "tailwindcss": "^3.1.8",
            "tsconfig": "*",
            "typescript": "^4.5.3"
        }
    }
更改成動態編譯元件
-- web/next.config.js
const withTM = require("next-transpile-modules")(["button", "calendar"]);

module.exports = withTM({
  reactStrictMode: true,
});
更改測試環境
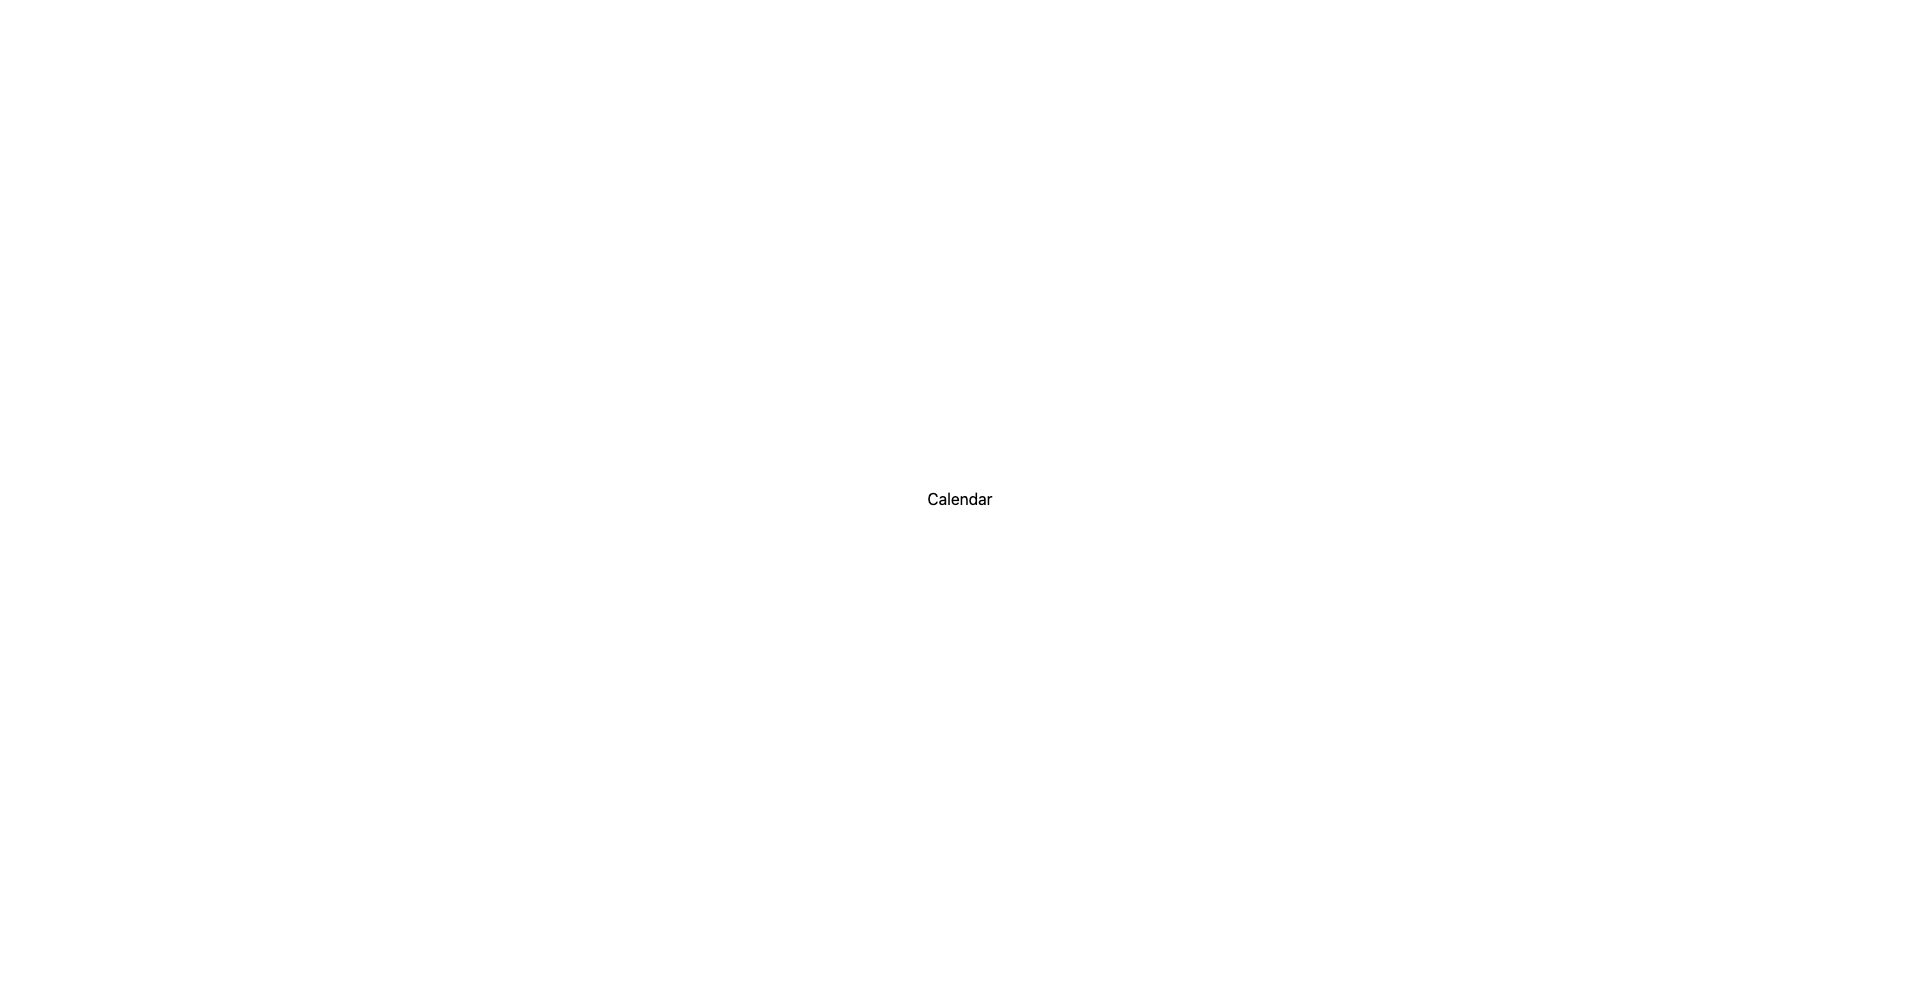
import { Calendar } from "calendar";

export default function Web() {
  return (
    <div className="h-screen w-screen grid place-content-center">
      <Calendar />
    </div>
  );
}
回專案根目錄重新下載套件
cd ../..
yarn
測試
yarn dev
這樣大致上就準備就緒了!!!

